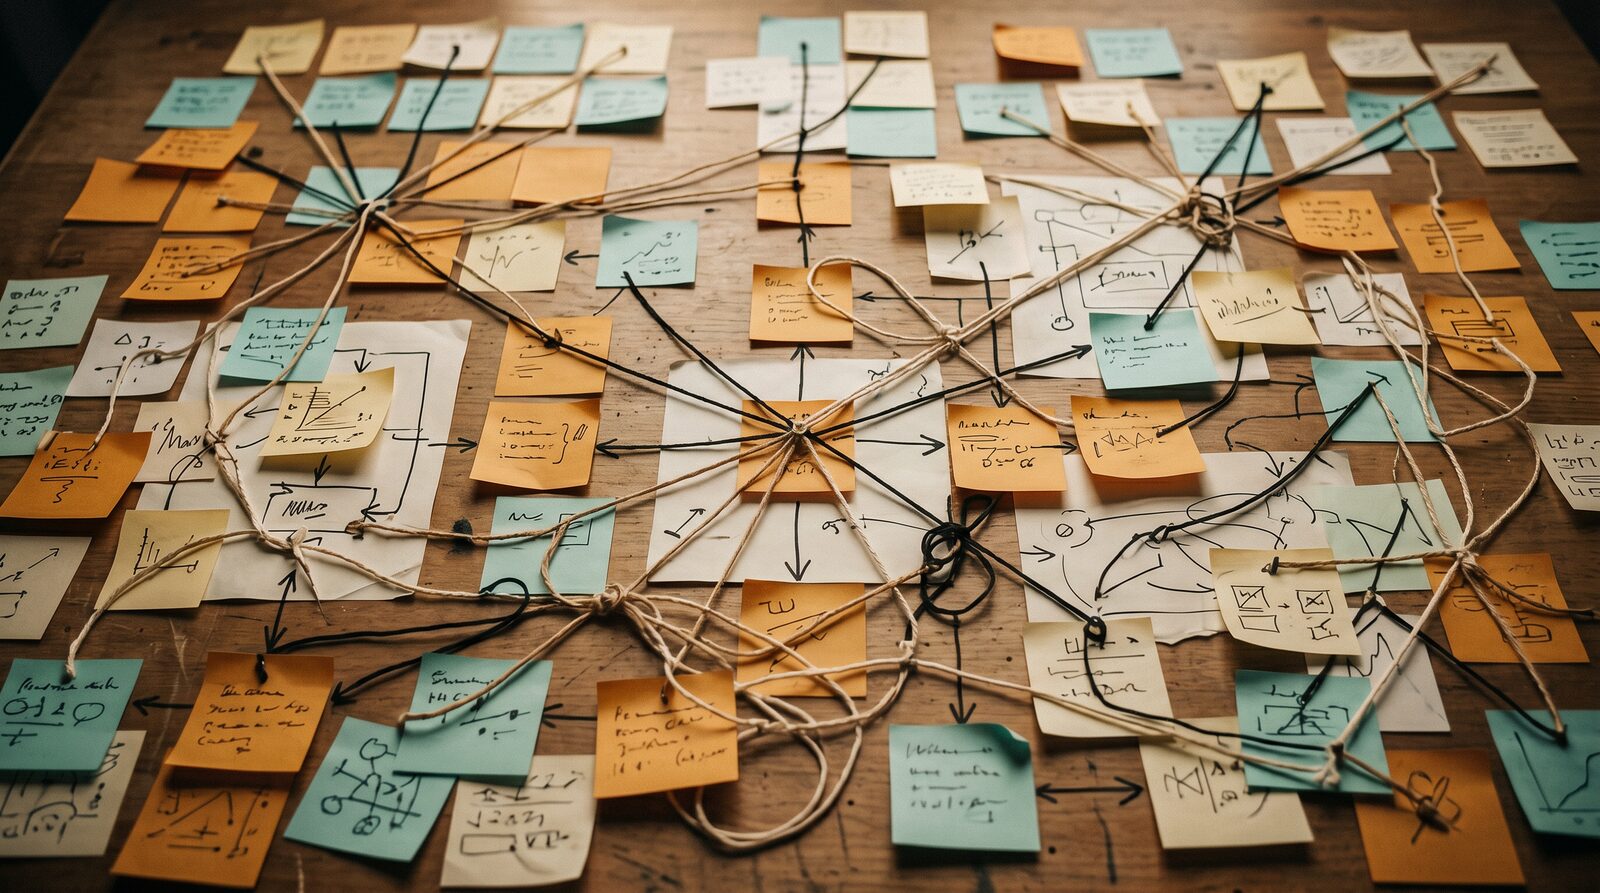
Synapse: Build AI Generation Pipelines Visually
You generate an image, look at it, then open a new tab to turn it into a video, then another tool to write the caption, then back to check if the face still matches. Every step is a separate decision, a separate wait, and a separate place to lose your train of thought. That's fine for one image. It falls apart the moment you're running the same five-step process every day.
Synapse is where you build that process once and run it as a single pipeline. It's a node-based canvas: you wire together blocks for text, images, AI agents, and video into a flow you can save, rerun, and hand to an AI agent to build for you from a plain-English description. This is a tour of both canvas modes and a first-pipeline walkthrough.
Two canvases, one board
Open aige.ws/synapse and create a board. Every board actually holds two different canvases, and you switch between them with the mode toggle at the top of the editor:
Whiteboard: a free-form moodboard built on tldraw, for dropping references, sketches, and notes when you're still figuring out what you want.
AI Workflow: the node canvas, where you connect actual generation steps into a pipeline you can execute.
Honest note: if you land on the old /moodboard URL, it redirects straight to /synapse. Moodboard and workflow live in the same tool now, not two separate products. AI Workflow is the mode you land on by default when you open a board.
The node types you actually have
A pipeline is built from eight node types, each with its own inputs and outputs that you connect with wires:
Text Input: a block of text with no inputs, one text output. Your starting prompt or brief.
Image Input: an uploaded image with no inputs, one image output. Your starting reference photo.
Text-to-Image: takes a prompt in, generates an image out.
Image Edit: takes an image plus instructions in, outputs an edited image.
AI Agent: takes text (and optional context) in, outputs a text response plus a generated prompt you can feed straight into the next node. Roles include marketing, creative director, and copywriter.
Video Gen: takes a prompt and an optional start frame in, outputs a video.
Conditional: takes any input, routes it down a True or False branch based on a rule (contains text, doesn't contain, length above/below a value, has an image, or always true). This is what makes it a pipeline instead of a straight line.
Output: the end of a branch. Collects whatever image or text reaches it.
Ports are color- and type-matched (text, image, or any), so you can only wire compatible connections together. The canvas also blocks you from wiring a loop back on itself, so a run always has a clean start and end.
Building your first pipeline by hand
Here's the smallest useful pipeline: a Text Input feeding a Text-to-Image node, feeding an Output node.
Add a Text Input node. Click the + tool in the header, drop it on the canvas, and type your prompt into it.
Add a Text-to-Image node. Drop it next to the first one, then drag a wire from the Text Input's output port to the Text-to-Image node's prompt input.
Add an Output node and wire the Text-to-Image node's image output into it.
Hit Run. The Play button in the header (or ⌘+Enter) executes every node in dependency order. Text Input and Image Input nodes don't need "running" since they're just your starting values, but everything downstream fires in sequence and lands in the Output node.
From there, the real value shows up once you chain more steps: an AI Agent node can turn a rough idea into a refined prompt, hand that to Text-to-Image, pipe the result into Image Edit for a touch-up, then into Video Gen for motion, all in one Run instead of four manual handoffs. A Conditional node lets you branch: route to one Output if the agent's text contains a keyword, another if it doesn't.
Agent Mode: describe it, don't wire it
Wiring nodes by hand is fine once you know the shape of the pipeline you want. When you don't, there's a faster way in. Press ⌘I (or Ctrl+I on Windows), or click the wand icon in the workflow toolbar, and Agent Mode opens: a chat panel where you describe the pipeline in plain language and it builds the nodes and connections for you.
It has two modes of its own:
Create: describe a pipeline from scratch. The suggestions in the panel give you a sense of what it's built for: "Create a marketing content pipeline," "Build an image generation workflow," "Set up a video production pipeline," "Create a creative brief to final assets flow."
Edit: available once you already have a pipeline on the canvas (there's a second toolbar icon for it). Describe a change, something like "add a video step after the image," and it edits your existing nodes and wiring instead of starting over.
When the agent returns a pipeline, it doesn't just describe it. It loads directly onto your canvas as real, wired nodes, and the view auto-fits to show you the whole thing. If you already had something on the canvas, that state gets pushed to undo history first, so ⌘Z gets you back to before the agent touched anything.
Running, saving, and reusing pipelines
A few habits make pipelines something you actually return to instead of rebuilding every time:
Templates. The Templates button in the header opens a library of starter pipelines you can drop in instead of starting from a blank canvas.
Undo/redo. Every add, delete, move, and connection is tracked. ⌘Z and ⌘⇧Z step through your edit history per board.
Export/import. The download and upload icons in the toolbar save your current pipeline as a
.synapse.jsonfile and reload one later, handy for keeping a pipeline you're proud of outside any one board.Snap to grid and minimap. Once a pipeline has a dozen nodes, the grid-snap toggle keeps wiring tidy and the minimap in the corner keeps you oriented when you're zoomed in on one section.
Honest note: this is a more advanced surface than most of the AIGE studio. There's no "just click generate" here. You're deciding what a pipeline should look like, which is a genuinely different mode of working than one-at-a-time generation in the main Studio. If you're building character-anchored images node by node, get comfortable first with how identity carries through a single generation. Our guide on consistent AI characters covers that, since a Text-to-Image node behaves the same way a normal generation call does under the hood. And if what you actually want out the other end is a finished Instagram carousel rather than a reusable pipeline, the Atelier carousel guide is the more direct path.
Quick answers
Question | Answer |
|---|---|
What is Synapse? | A collaborative canvas at aige.ws/synapse with two modes: a tldraw-based whiteboard for moodboarding, and an AI Workflow node canvas for building repeatable generation pipelines. |
What node types can I use in a pipeline? | Text Input, Image Input, Text-to-Image, Image Edit, AI Agent, Video Gen, Conditional, and Output. |
How do I open Agent Mode? | Press ⌘I (Ctrl+I on Windows) or click the wand icon in the AI Workflow toolbar. It opens a chat panel that builds or edits your pipeline from a text description. |
Can the agent edit a pipeline I already built, not just create new ones? | Yes. Agent Mode has a separate Edit mode that modifies your current nodes and connections instead of replacing them. |
What happened to the old Moodboard page? | /moodboard now redirects to /synapse. It's the Whiteboard mode inside the same tool, not a separate page. |
How do I run a pipeline? | Click the Play button in the header, or press ⌘+Enter. It executes every connected node in dependency order. |
Do this next
Open Synapse, switch to AI Workflow mode, and press ⌘I to open Agent Mode. Describe one pipeline you actually run by hand today, even something as simple as "prompt to image to video," and let it wire the first draft so you can see the node canvas in action before you build one yourself.
Comments
Be the first to comment.