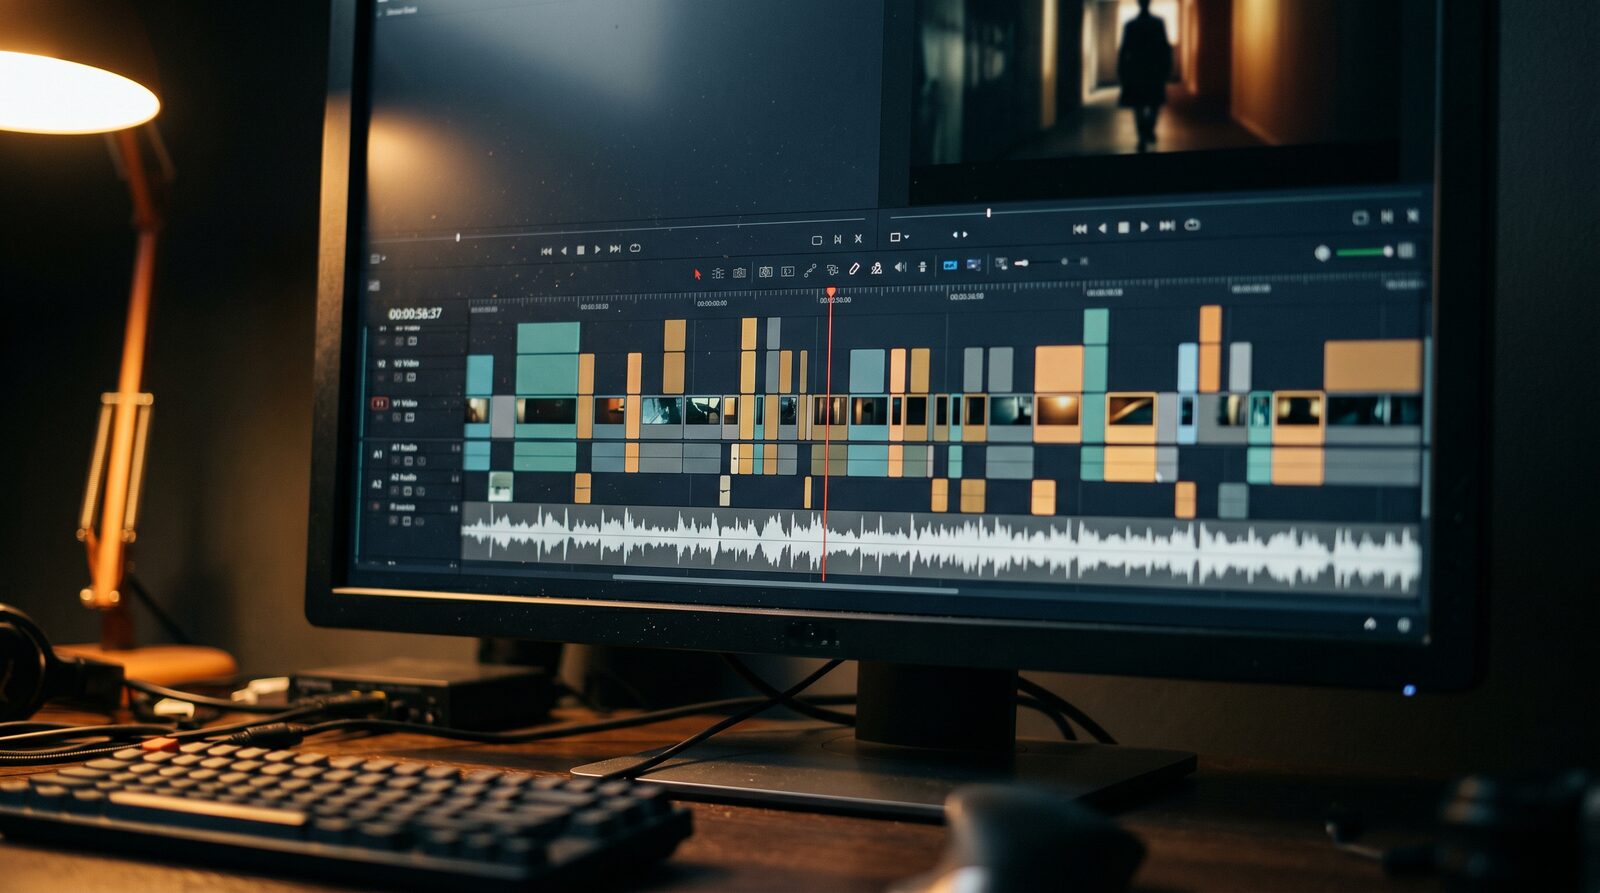
AIGE's AI Video Editor: From Timeline to Export
Most "AI video generators" hand you one clip and a download button. You get a nice 8-second render, and then you're on your own. You end up pasting that clip into some other app to trim it, sequence it with other shots, and shape it into something you can actually post. That gap between "AI made a clip" and "I have a finished video" is where most people give up.
AIGE's video editor closes that gap by putting a real timeline and a generation panel in the same window. You can pull existing clips from your media library, generate a brand-new one without leaving the editor, and cut them together: media library, preview, properties, and timeline, all in one workspace at aige.ws/vediting.
1. What's actually in the editor
Open /vediting and you land in a floating, panel-based workspace, not a single locked layout. Three modes sit at the top: Edit, Preview, and Generate.
Edit mode shows everything at once: a media/effects panel on the left, the preview in the center, a properties panel on the right, and the timeline along the bottom.
Preview mode clears the side panels so you can watch your cut full-screen.
Generate mode swaps the right-hand properties panel for the AI generation panel, keeping your preview visible while you set up a new clip.
Click any panel and it comes into focus, while the others dim behind it, so you're not fighting a cramped view when you need to work in the timeline or dial in a color grade. Undo and redo live directly in the timeline header (Cmd+Z / Cmd+Shift+Z), so mistakes in cutting, trimming, or moving clips are never permanent.
2. Build your media library
The left panel is your Media tab: everything you've generated in AIGE (images and videos tied to your account and current project) shows up here, searchable and filterable by type. Select one or more clips and add them to the timeline with one click. The editor automatically finds (or creates) a matching track, so images and videos both land somewhere sensible without you having to set up tracks manually first.
Honest note: adding a clip from the media library to the timeline is a click action ("Add to Timeline"), not a drag-and-drop from the panel onto the canvas. If you're picturing a Premiere-style drag straight onto a track, it's simpler than that here: select the clip, hit add, and it lands on the timeline.
3. Generate a new clip without leaving the editor
Switch to Generate mode and the right panel becomes a full AI video generation form: pick a start frame (and, on models that support it, an end frame) from your existing character images, write a motion prompt, and choose your model. Kling, Kling 3, Kling Motion Control, OVI, and VEO are all available directly from this panel, each with its own duration options and an estimated credit cost shown right on the Generate button before you commit.
Duration, aspect ratio, resolution, and audio generation (for VEO) are tucked under a collapsible Settings section so the panel stays uncluttered until you need them. Once a clip finishes generating, it shows up back in your Media tab like anything else you've made. From there it's the same one-click "Add to Timeline" as any other clip. If you're deciding which model actually fits your shot, Kling vs VEO vs Seedance breaks down durations, audio pricing, and credit costs for each.
4. Cut, trim, and dial in properties
The timeline supports the basics you'd expect from a real editor: multiple tracks, clip trimming, and reordering, with resizable track heights so you can see waveforms or thumbnails clearly when you need to. Select any clip and the Properties panel on the right gives you four tabs to work with:
Transform: position, scale, and framing for the clip
Effects: visual effects applied to the clip
Color Grading: grade the shot without leaving the editor
Audio: audio-specific controls for that clip
Because properties are per-clip, you can grade one shot warmer and leave the next one untouched, or apply an effect to a single generated clip without it bleeding into the rest of your sequence.
5. Export
Open the Export modal from the playback dock and you get two decisions to make: what to export, and how. Export range is either the full timeline or just your currently selected clips. Export engine is a real choice, not just a format toggle:
Engine | What you get |
|---|---|
FFmpeg (recommended) | Proper MP4 with H.264 video and mixed-in audio. Slower, higher quality. |
Browser (fast) | Quick browser-based export via MediaRecorder, producing WebM output with no audio mixing. |
On top of that, platform presets (YouTube 1080p, YouTube 4K, Instagram Reels, TikTok, Twitter/X) set resolution, fps, and bitrate for you in one click, or you can flip on custom settings for exact resolution, frame rate, bitrate, format (MP4/WebM), and codec (H.264, H.265, VP9, VP8). The export summary shows exactly what you're about to render: mode, resolution, fps, engine, and duration, before you commit.
Honest note: exports render frame-by-frame in your browser (Remotion under the hood), which is why FFmpeg exports take real time on longer timelines. It's genuinely encoding, not just a re-wrap. If a clip uses a temporary source URL that's since expired, the modal will flag it and ask you to re-import before exporting.
Quick answers
Question | Answer |
|---|---|
Is the video editor a separate app from generation? | No. It's one workspace at /vediting with Edit, Preview, and Generate modes, so you can generate a clip and add it to the same timeline you're cutting. |
Do I need an account to open the editor? | No. The /vediting route isn't login-gated. You'll need credits and a character set up to actually generate new clips, though. |
Which AI video models can I generate from inside the editor? | Kling, Kling 3, Kling Motion Control, OVI, and VEO, each with model-specific duration and quality options. |
What export formats are supported? | MP4 (H.264/H.265) via the FFmpeg engine, or WebM (VP9/VP8) via the fast browser engine, plus ready-made presets for YouTube, Instagram Reels, TikTok, and Twitter/X. |
Can I undo a mistake on the timeline? | Yes. Undo/Redo buttons sit in the timeline header, with Cmd+Z / Cmd+Shift+Z shortcuts. |
Does a generated clip drop straight onto the timeline? | It lands in your media library once generation finishes; adding it to the timeline is then one click, not automatic. |
Do this next
Open aige.ws/vediting, pull one existing clip into the timeline from your Media tab, then switch to Generate mode and make a second clip to cut in next to it. If you're starting from a still photo instead of existing footage, turning a portrait into a cinematic video walks through that first step. And if the same character needs to show up consistently across every clip you generate, the guide to consistent AI characters covers how to keep that face locked in.
Comments
Be the first to comment.